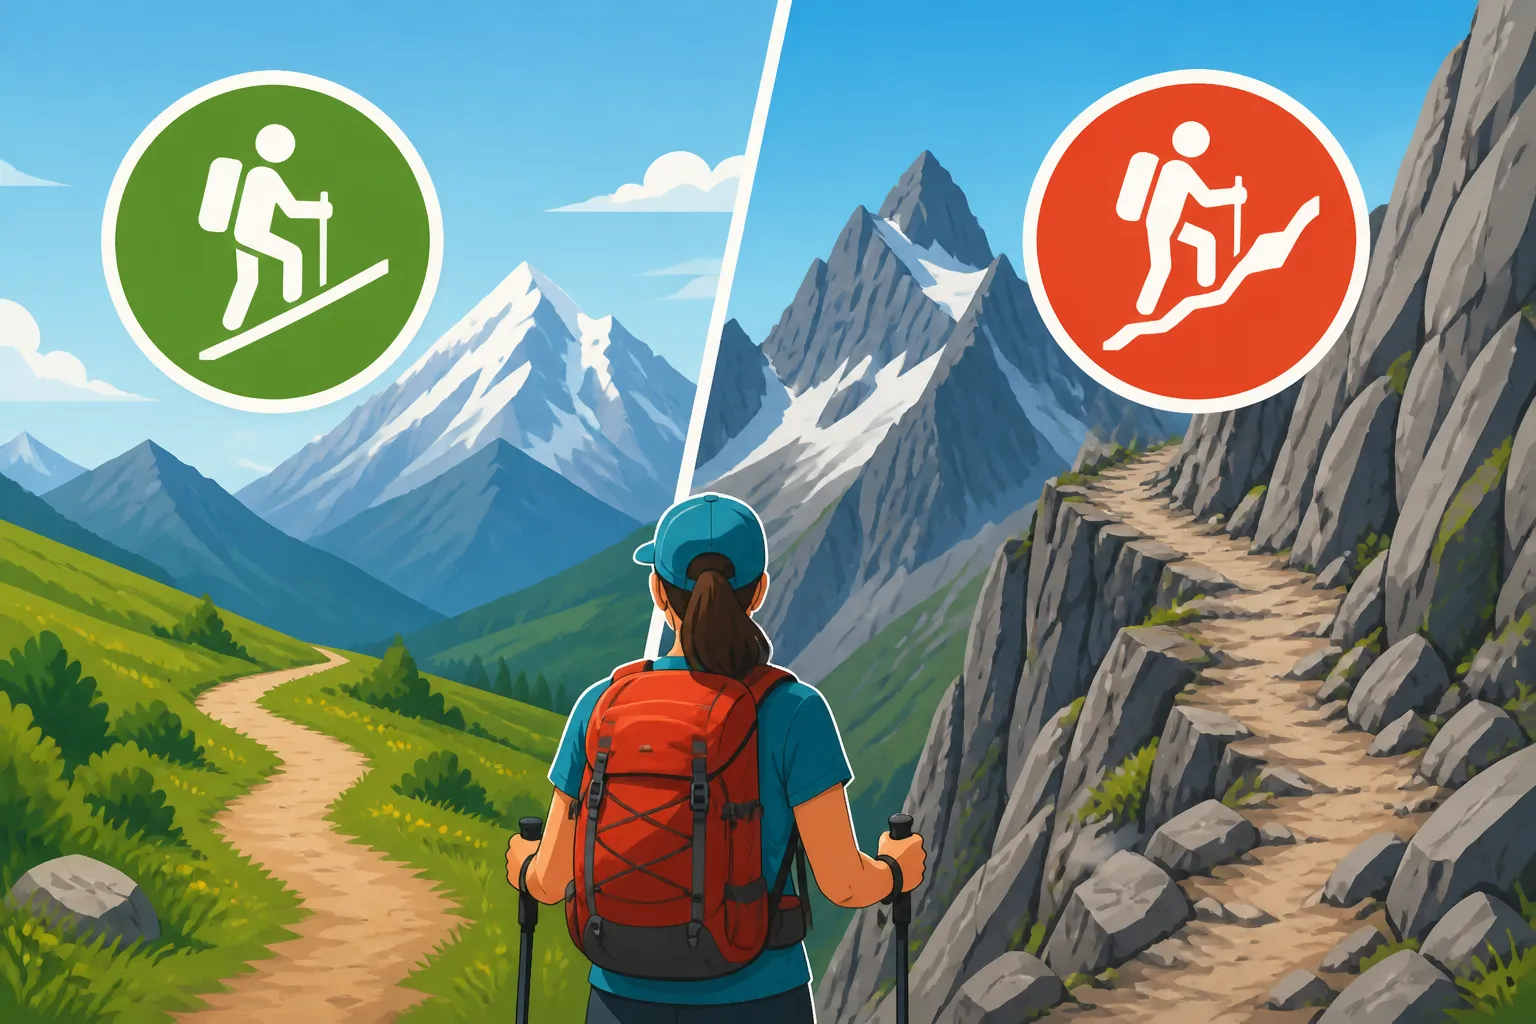
What ‘T2’ and ‘T3’ Mean on Swiss Hiking Trails
When you first arrive in Switzerland and venture out onto those breathtaking yellow-signed trails, you quickly learn to trust those ubiquitous markers. But then you start noticing little red-and-white stripes, or even tiny blue-and-white ones, often accompanied by confusing abbreviations like 'T2' or 'T3'. For many of us, it’s a moment of head-scratching confusion. These aren't just arbitrary codes; they’re part of a nationally standardized system designed by the Swiss Alpine Club (SAC) to classify the difficulty of hiking trails. Understanding them is absolutely crucial for your safety and enjoyment in the stunning Swiss mountains. This guide is here to demystify the SAC hiking scale, focusing specifically on what T2 and T3 trails entail, so you can confidently plan your next mountain adventure without any unpleasant surprises.
The Swiss Alpine Club SAC Hiking Scale: An Essential Overview
Before we dive into the specifics of T2 and T3, let's take a quick look at the bigger picture. The Swiss Alpine Club (SAC) has developed a six-level scale to grade the difficulty of hiking trails, ranging from T1 (easy hike) to T6 (difficult alpine hike). This classification is a lifeline for hikers, providing a clear indication of what to expect in terms of terrain, physical demands, and necessary equipment. It’s far more detailed than a simple 'easy' or 'hard' label, which often doesn't convey the nuances of mountain walking.
Each level builds upon the previous one, adding more technical challenges, exposure, and physical exertion. The system takes into account several factors: the condition of the path, the steepness of the terrain, the presence of exposed sections, and whether specific equipment like crampons or ice axes might be needed. For a broader understanding of the entire system, you might want to read our full guide on Swiss Hiking for Beginners: Trail Grades and the SAC System. For now, let’s focus on the middle ground, where many day hikers find themselves exploring: T2 and T3. These are the trails that move beyond a leisurely stroll, demanding a bit more from you and your gear.
Decoding T2 Trails: The "Mountain Hike" Experience
Ah, T2. This is where many of us expats start to feel like we’re truly "hiking" in Switzerland, rather than just walking. The SAC officially labels T2 as a "mountain hike" (Bergwanderung). This isn't just a slight bump up from T1; it's a noticeable difference that requires a bit more preparation and awareness.
Characteristics of T2 Terrain
When you're on a T2 trail, you’re likely no longer on perfectly manicured, wide gravel paths. Instead, you'll encounter a mix of surfaces:
- Path condition: The paths are often distinct and continuous, but they can be uneven, narrow, and winding. Expect rocks, roots, and loose gravel underfoot. In some sections, the trail might cut across scree slopes or grassy hillsides where a clear path is less defined.
- Steepness: While not consistently vertical, T2 trails will feature steeper ascents and descents. You might find yourself huffing and puffing, and your knees will definitely feel the strain on the way down.
- Exposure: This is where T2 starts to introduce elements of exposure. You might find yourself walking on paths with drops to one side, or traversing narrow ledges. While these sections are generally secured (e.g., with ropes or chains bolted into the rock), they require a steady foot and a good head for heights.
- Navigation: The trails are still well-marked, typically with those distinctive red-and-white painted signs and markers on rocks or trees. However, in bad weather or fog, visibility can drop, making it slightly more challenging to follow the route. It’s always a good idea to carry a map or use a reliable hiking app like those mentioned in Hiking Apps for Switzerland: SwitzerlandMobility and Komoot.
Required Equipment and Physical Demands for T2
Don't show up in your city sneakers for a T2 hike; you'll regret it.
- Footwear: Sturdy hiking boots are essential. They need to have good ankle support to prevent twists and provide excellent grip on varied, potentially slippery, terrain. Waterproofing is a huge plus, especially if you're crossing damp sections or expecting rain.
- Clothing: Layering is key. Even on a sunny day, mountain weather can change rapidly. Bring a waterproof and windproof jacket, a fleece or warm layer, and breathable base layers.
- Other Gear: A backpack with enough water, snacks, sunscreen, a first-aid kit, and a fully charged phone is non-negotiable. Hiking poles can be incredibly helpful, especially on steep descents or to maintain balance on uneven ground, saving your knees from impact.
- Physical condition: You should have a good level of fitness. T2 hikes can involve several hours of continuous walking with significant elevation changes. If you’re used to long walks on flat ground, a T2 trail will be a step up, requiring more endurance and muscular strength. A basic level of sure-footedness is expected; you need to be confident walking on uneven, sometimes slippery, surfaces without constantly stumbling.
Common Examples of T2 Trails
Many popular panoramic routes and paths to mountain restaurants or scenic viewpoints fall into the T2 category. Think of trails that lead up to smaller peaks or traverse mid-altitude ridges. For instance, paths around destinations like Männlichen or First in the Jungfrau region, while offering stunning views, often have sections that are clearly T2. They connect viewpoints, sometimes include suspension bridges (like the Cliff Walk at First), and can be quite exposed in places, though generally well-secured. Similarly, some paths in the lower regions of the Valais or Grisons might start easy but quickly gain elevation on narrow, stony tracks. These are often accessible by Mountain Railways and Cable Cars: Reaching Switzerland's Peaks, making them popular day trips for many.
Venturing onto T3 Trails: The "Challenging Mountain Hike"
Now, if T2 is a 'mountain hike,' then T3 takes it up a notch to a "challenging mountain hike" (anspruchsvolle Bergwanderung). This is where things get a bit more serious, and you’ll often see fewer casual hikers. T3 trails are not for the faint of heart or the unprepared.
Characteristics of T3 Terrain
The jump from T2 to T3 means more commitment, both physically and mentally.
- Path condition: Paths are often less distinct or may disappear entirely for short stretches, requiring you to navigate over boulders, scree, or steep grassy slopes. You'll encounter more challenging sections where you might need to use your hands for balance or even for a short scramble.
- Steepness: Expect significantly steeper and longer ascents and descents. The terrain can be quite rugged, demanding continuous effort.
- Exposure: T3 trails feature frequently exposed sections, sometimes with long drops. While fixed ropes or chains might be present in the most critical spots, they are not as continuously available as on T2 trails. You must be comfortable with heights and able to move confidently along narrow, exposed ridges or across steep, rocky slopes. A slip here could have serious consequences.
- Navigation: While still marked with red-and-white markers, these can be sparse in certain sections. You’ll need good navigational skills, the ability to read the terrain, and constant awareness of the route. Relying solely on visual markers might not be enough, especially if the weather closes in. Always have a physical map, compass, and a reliable GPS device or app.
Required Equipment and Physical Demands for T3
If T2 requires sturdy boots, T3 demands robust, alpine-ready footwear and a higher level of self-sufficiency.
- Footwear: High-ankle, stiff-soled mountain boots are highly recommended. These provide maximum ankle support and protection on rugged, rocky terrain, and their stiffness aids in scrambling and edging on small footholds.
- Clothing: The same layering principles apply, but with a greater emphasis on durability and protection against more extreme weather conditions. Consider gaiters if crossing snow patches is a possibility, even in summer.
- Other Gear: In addition to the basics for T2, consider adding a climbing helmet for sections with potential rockfall, especially if you're in areas known for it or if the trail involves light scrambling. Gloves can protect your hands on fixed ropes or rough rock. A headlamp is crucial if there's any chance of being out after dark. Sufficient water and high-energy snacks are paramount, as re-supply points are much rarer. For a comprehensive list, check out What to Pack for a Day Trip to the Swiss Alps, but augment it for T3.
- Physical condition: Excellent physical fitness is a must. T3 hikes often involve sustained effort over many hours, covering significant distances and elevation. Endurance, strength, and agility are all tested. You absolutely need to be very sure-footed and have no issues with heights or exposure. Basic alpine experience, such as understanding how to move safely on steep, loose terrain and how to use fixed ropes, is highly beneficial. If you're planning a challenging T3 hike, ensure you have reviewed Mountain Safety in Switzerland: Weather, Gear, and Emergency Numbers before setting off.
Common Examples of T3 Trails
Many trails leading to more remote mountain huts, alpine passes, or smaller, less-frequented peaks often fall into the T3 category. For instance, some of the more direct routes up the local peaks in the Bernese Oberland or routes in the Graubünden region that traverse exposed sections. Imagine a path winding steeply up a mountainside, crossing a scree field, and then continuing along a narrow, rocky ridge with stunning but precipitous drops on either side. Such trails require continuous concentration and a high degree of confidence in your own abilities. If you’re not experienced, consider booking a guided tour through platforms like GetYourGuide for T3 trails, especially in the early stages of your Swiss hiking journey. You can also scout out potential overnight stays in mountain huts using sites like Booking.com, which can be useful when planning multi-day treks on more challenging trails.
Practical Tips for T2 and T3 Hikes: Preparation and Safety
Stepping onto T2 or T3 trails means stepping up your game. Here's how to ensure a safe and enjoyable experience:
Planning Your Route Meticulously
- Consult reliable sources: Don't just rely on pretty Instagram pictures. Use official hiking maps (physical and digital), SwissTopo, or SwitzerlandMobility for detailed route information, elevation profiles, and up-to-date SAC classifications. Double-check the current conditions – is there snow in higher elevations? Have recent storms caused damage?
- Check the weather forecast: Mountain weather is notoriously unpredictable. A sunny morning can quickly turn into a stormy afternoon. Always check the forecast for the specific mountain region you'll be in, not just the nearest town. Use multiple sources and look for high-altitude forecasts. Our guide on Weather Apps and Webcams for Planning Swiss Mountain Trips can help you find reliable tools. If a thunderstorm is predicted, especially in the afternoon, postpone your hike.
- Know your limits: Be honest with yourself about your fitness level and comfort with heights. It’s always better to start with an easier trail and work your way up. There's no shame in turning back if conditions are worse than expected or if you're not feeling confident.
- Plan bail-out options: Identify potential escape routes or earlier turnaround points in case of bad weather, fatigue, or injury. Knowing where the nearest mountain hut, cable car, or public transport stop is can be a lifesaver.
Essential Gear and Packing
- Beyond the basics: As discussed, for T2, good hiking boots are crucial. For T3, consider more rigid boots, and potentially a helmet and gloves. Always carry enough food and water, even if you expect to pass a mountain hut. Hut opening times can change, or they might be fully booked.
- Navigation tools: A physical map and compass are indispensable, even if you primarily use your phone. Batteries die, and signals can drop. Make sure you know how to use them.
- First-aid kit: A well-stocked kit is vital for treating minor injuries like blisters, cuts, or sprains.
- Emergency contacts: Know the Swiss emergency numbers (144 for ambulance, 112 for general European emergency). Consider a REGA membership; it’s not insurance but provides invaluable air rescue services. Learn more about REGA Membership: Why Expats Need Air Rescue Insurance in the Alps.
| SAC Difficulty Grade | Path Condition | Terrain | Exposure | Requirements |
|---|---|---|---|---|
| T1 (Hiking Path) | Well-maintained, mostly flat or gentle incline | No steep sections, no exposure | None | Good footwear (trainers okay), basic orientation |
| T2 (Mountain Hike) | Continuous path, sometimes uneven, narrow | Steeper sections, occasional scree, some uphill steps | Can have exposed sections, usually secured | Sure-footedness, good physical condition, sturdy hiking boots, basic orientation |
| T3 (Challenging Mountain Hike) | Path not always visible, possibly boulder fields | Steep and long climbs/descents, some scrambling | Frequent exposed sections, possibly secured with ropes | Excellent sure-footedness, very good physical condition, sturdy mountain boots, good orientation skills, basic alpine experience |
| T4 (Alpine Hike) | Not always visible, possibly tracks in scree/snow | Very steep, rocky, often involves hands for climbing | Exposed, requires comfort with heights, fixed ropes may be present | Alpine experience, good gear, strong physical & mental endurance, basic climbing skills |
Staying Safe on the Trail
- Start early: Especially for longer T2 and T3 hikes, an early start means you finish before afternoon thunderstorms roll in, and you have more daylight hours to spare if anything unexpected happens.
- Conserve energy: Pace yourself, take regular breaks, and hydrate frequently. Don’t push too hard at the beginning.
- Listen to your body: If you're feeling unwell, overly tired, or if a particular section seems beyond your capabilities, turn back. Your safety is paramount.
- Inform someone: Always tell someone your planned route and estimated return time. This is a basic but often overlooked safety measure.
- Respect nature: Stay on marked trails, don't litter, and keep a respectful distance from wildlife. The mountains are a beautiful, fragile ecosystem.
Understanding the difference between T2 and T3 trails is more than just knowing some classifications; it’s about making informed decisions that ensure you return safely from your Swiss mountain adventures. These trails offer some of the most rewarding experiences in Switzerland, bringing you to breathtaking vistas and deep into the heart of the Alps. With proper preparation and respect for the mountain environment, you'll be well on your way to exploring the incredible beauty this country has to offer. Happy hiking!
Disclaimer
The information provided in this guide is for general informational purposes only and does not constitute professional advice. Hiking in the mountains carries inherent risks, and conditions can change rapidly. Always assess your own capabilities, consult up-to-date weather forecasts and trail conditions, and ensure you have appropriate gear and insurance. The author and publisher are not liable for any incidents or accidents that may occur as a result of using this information. When in doubt, seek professional guidance or choose an easier route.