Navigating the Pre-Approval (Ermächtigung) Process at the Swiss Embassy
Waiting for a Swiss visa can feel like sending your most important documents into a black hole and hoping the universe smiles back at you months later. I remember the paralyzing anxiety of refreshing my inbox every hour, wondering if my application was actually being processed or if it had been filed away in a dusty cabinet in Bern. This guide demystifies the Ermächtigung zur Visumerteilung, the critical pre-approval document that stands between you and your new life in Switzerland.
What is the Ermächtigung zur Visumerteilung
The term Ermächtigung zur Visumerteilung translates literally to "authorization for the issuance of a visa," and in the world of Swiss immigration, it is the holy grail for non-EU/EFTA citizens. Unlike many other countries where the embassy makes the final decision on your residency, the Swiss system is decentralized. Your local embassy or consulate is merely the "front office" that handles the physical stamp in your passport. The "back office"—where the actual decisions are made—is located within the individual cantons of Switzerland.
When you apply for a long-stay D-visa, the embassy forwards your dossier to the cantonal migration office where you intend to live, such as the OCPM in Geneva or the Migration Office in Zurich. If the canton approves your stay, they issue an Ermächtigung. This is a digital or physical notification sent back to the embassy, telling them, "We have vetted this person, and you are now cleared to put the visa in their passport." Without this specific authorization, the embassy’s hands are tied; they cannot legally grant you entry for residency purposes.
The reason this process feels so opaque is that it involves three different layers of government: the municipal, the cantonal, and the federal. Each layer has its own set of checks and balances. For those applying for a Swiss Visas and Work Permits: The Complete 2027 Guide for Expats, understanding that the embassy is just a middleman is the first step toward maintaining your sanity during the long wait times.
The Three Stages of the Pre-Approval Workflow
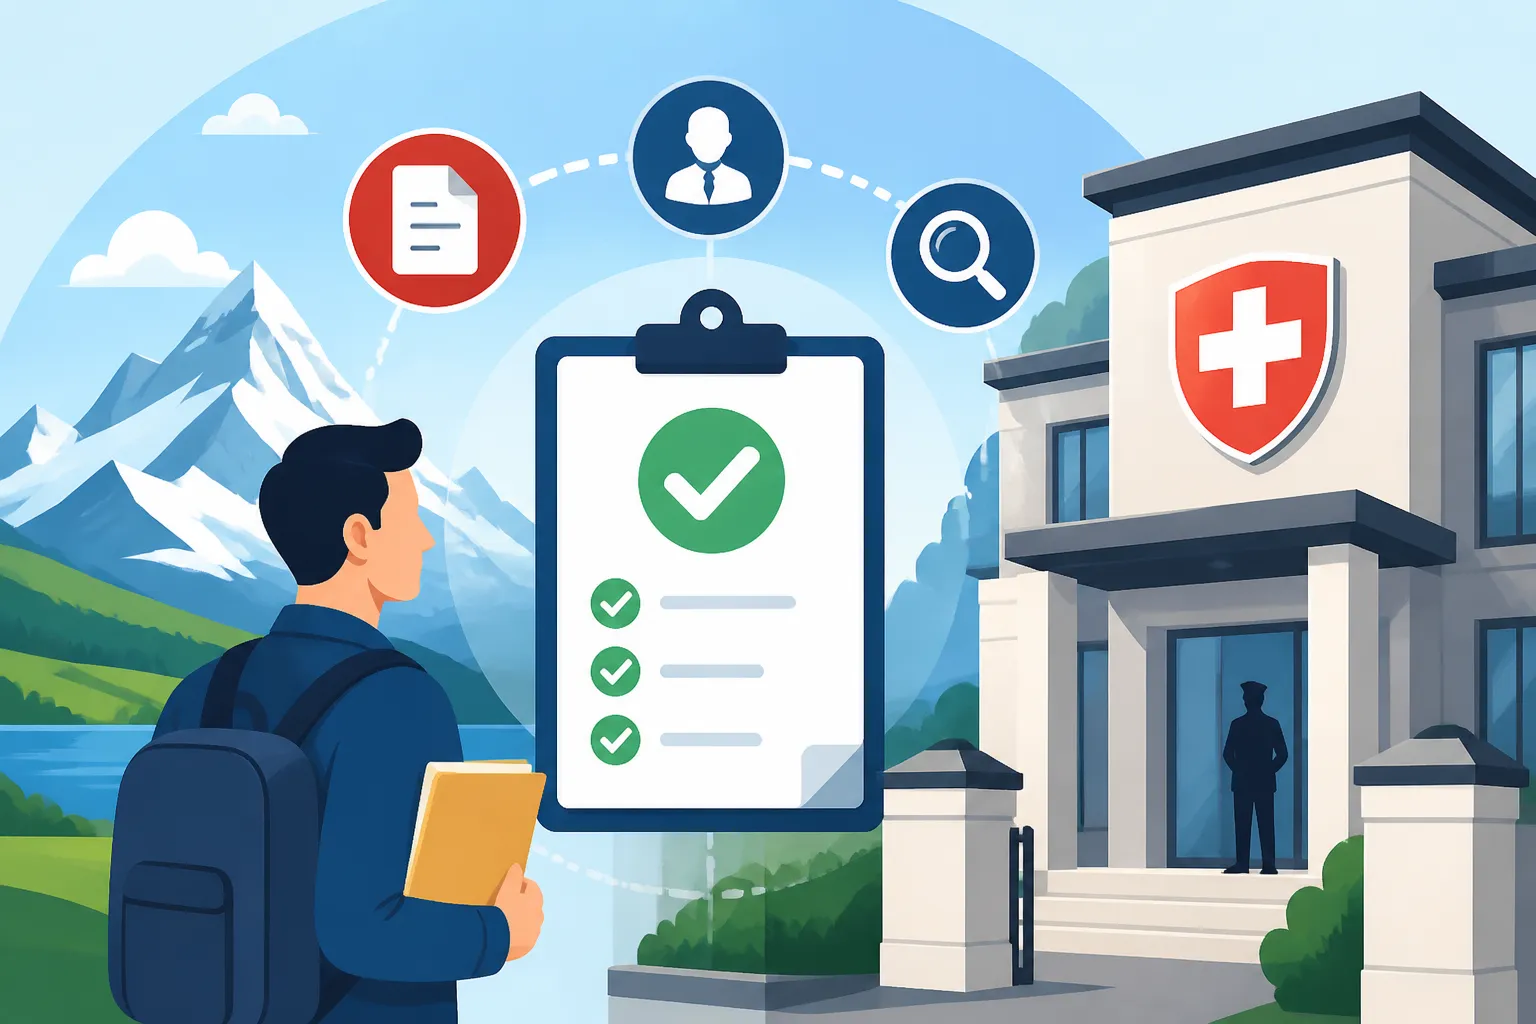
The path to receiving your pre-approval is not a straight line; it is a multi-stage marathon that tests the patience of even the most organized expat. For most third-country nationals (non-EU/EFTA), the process begins long before you ever set foot in a Swiss embassy. It usually starts with your employer or your school filing a request within Switzerland.
Stage 1: The Local Labor Market Test
If you are moving for work, the first hurdle is the "Inländervorrang" or the principle of Swiss/EU preference. The cantonal authorities must verify that your employer made a genuine effort to find a Swiss or EU/EFTA national to fill the role before offering it to you. This is a rigorous process where the company must show they advertised the position on local platforms and interviewed qualified candidates but found no one suitable.
This is also the stage where Third-Country National Quotas: How the Swiss Permit Limits Work comes into play. Switzerland has a strictly limited number of B and L permits available for non-EU workers each year. If the quotas for the current quarter are exhausted, your pre-approval might be delayed regardless of how qualified you are. I have seen brilliant engineers have their start dates pushed back by months simply because they applied in November when the annual "pot" of permits was empty.
Stage 2: Cantonal Migration Office Approval
Once the labor market authorities (like the AWA in Zurich or the KIGA in Baselland) give the green light, your dossier moves to the Cantonal Migration Office. This is where they look at you as an individual. They check your criminal record, your financial standing, and your housing situation. They want to ensure you won't become dependent on social welfare and that you have a suitable place to live.
If you are moving for family reunification, this is the stage where they verify Apartment Size Requirements (Rooms per Person) for Family Visas. The Swiss are very specific about living standards; for example, a family of four usually cannot live in a two-room apartment. Once the canton is satisfied, they issue their internal approval. However, for certain types of permits, they still need a "stamp of approval" from the federal level.
Stage 3: Federal Validation by the SEM
The State Secretariat for Migration (SEM) in Bern has the final say. While they usually follow the canton's recommendation, they perform a final check to ensure that cantonal decisions align with national policy. When the SEM gives their final "okay," the electronic authorization is triggered. The embassy in your home country is notified, and you finally receive that glorious email or letter telling you to bring your passport in for the visa stamp.
Essential Documentation for the Pre-Approval Phase
The success of your Ermächtigung depends entirely on the quality of your "Bewerbungsmappe" or application dossier. The Swiss authorities are famously meticulous. If a single document is missing or incorrectly formatted, they won't call you to clarify—they will simply send the dossier back to the bottom of the pile or reject it outright.
One of the biggest stumbling blocks for expats is the language requirement for documents. Switzerland has four national languages, but for immigration purposes, you generally need your documents in the language of the canton you are moving to (German, French, or Italian). If your birth certificate, marriage license, or university degrees are in English, you will almost certainly need certified translations. This is where a service like RushTranslate becomes invaluable. They provide the certified, high-quality translations that Swiss officials expect, ensuring that your Translation and Apostille Requirements for Marriage Certificates meet the strict cantonal standards.
Furthermore, you must demonstrate that you are prepared for the Swiss healthcare system from day one. While you usually have 90 days to sign up for local insurance after arrival, the authorities often want to see that you have international coverage in the interim or a plan in place. For many expats, starting with a global provider like Cigna Global is a smart move. It provides the high-level coverage that satisfies the "financial independence" check during the pre-approval phase, especially if you are applying as a retiree or a self-employed professional. Having a policy from Cigna Global can serve as proof that you won't be a burden on the Swiss healthcare system while your local mandatory insurance is being set up.
Understanding the Different Permit Types
The type of Residence Permits in Switzerland: L, B, C, and G Permits Explained you are applying for will dictate how complex the Ermächtigung process is. Not all "pre-approvals" are created equal, and some cantons are much faster than others.
| Permit Type | Purpose | Approval Complexity | Average Wait Time |
|---|---|---|---|
| L Permit | Short-term (up to 1 year) | Medium | 4–8 Weeks |
| B Permit | Resident (1–5 years) | High | 8–12 Weeks |
| Ci Permit | Family of NGO/Gov Staff | Low | 2–4 Weeks |
| D Visa (Student) | Education | Medium | 6–10 Weeks |
The B Permit is the most common for long-term expats, but it is also the most scrutinized. If you are a non-EU national, your employer must prove How Employers Prove 'Inländervorrang' to Hire a Non-EU Citizen to even get the process started. For students, the pre-approval often hinges on providing a "blocked account" or proof of significant liquid assets to cover living costs in cities like Zurich or Geneva.
Common Pitfalls and How to Avoid Them
The most common reason for a delay in the Ermächtigung process is a lack of "complete" information. I once helped a friend who had been waiting four months for his pre-approval, only to find out that the canton had sent a letter to his employer requesting a more detailed job description, and the HR department had buried it under a pile of mail.
Another major pitfall is the "90-day rule." If you enter Switzerland as a tourist while your D-visa pre-approval is pending, you might actually jeopardize your application. While it is tempting to start apartment hunting early, the authorities generally prefer that you wait for the Ermächtigung in your home country. If you are caught "working" or "residing" without the proper visa, it can lead to a multi-year ban from the Schengen area.
Always ensure that your contact information is 100% accurate. The Swiss authorities often communicate via physical mail, even today. If your name isn't clearly marked on your mailbox at home, or if you move houses during the application period without notifying the embassy, you might miss the notification that your pre-approval has arrived.
What to Do Once the Pre-Approval is Granted
When the embassy notifies you that the Ermächtigung has been received, the hard part is over, but the administrative work isn't finished. You will need to take your passport to the embassy (or mail it, depending on the country) to have the actual Type D visa sticker inserted. This sticker is usually valid for 90 days and allows you to enter Switzerland for the purpose of "taking up residency."
Once you land in Switzerland, the clock starts ticking. You generally have 14 days to complete The 14-Day Registration Rule: Signing Up at the Gemeinde/Commune. This is a non-negotiable step. Even if you have your visa, you are not legally a resident until you show up at the local town hall (Gemeinde) or city district office (Kreisbüro) to register your address.
Make sure you have your physical Ermächtigung letter (if provided) and your passport ready. You should also check the list of Registering at the Kreisbüro: What Documents Do Expats Need to Bring for your specific canton, as requirements can vary. For example, in Zurich, they will want to see your rental contract and your work contract immediately upon registration.
Final Steps and Arrival Logistics
After you register at the commune, you will be scheduled for a biometrics appointment at the cantonal migration office. This is where they take your photo and fingerprints for your physical residence card (the Ausländerausweis). To understand this process better, read our guide on Biometrics and Airport Immigration: What Happens at Swiss Border Control.
The physical card usually arrives by post about 2–4 weeks after your biometrics appointment. Until then, your registration document from the commune serves as your proof of legal residency. It’s a long road from the first application at the embassy to holding that plastic B-permit card in your hand, but navigating the Ermächtigung process with patience and precision makes the journey much smoother.
Remember, the Swiss system prizes "Subsidiarity"—the idea that things should be handled at the most local level possible. This is why the canton, not the embassy, holds the key to your move. By working closely with your employer, using professional services like RushTranslate for your dossier, and ensuring your health coverage with Cigna Global is solid, you are positioning yourself for a successful transition to life in the Alps.
Disclaimer
The information provided in this guide is for informational purposes only and does not constitute legal advice. Swiss immigration laws and cantonal practices are subject to frequent change. Always consult the official website of the State Secretariat for Migration (SEM) or a qualified immigration lawyer before making significant financial or life decisions regarding your move to Switzerland.