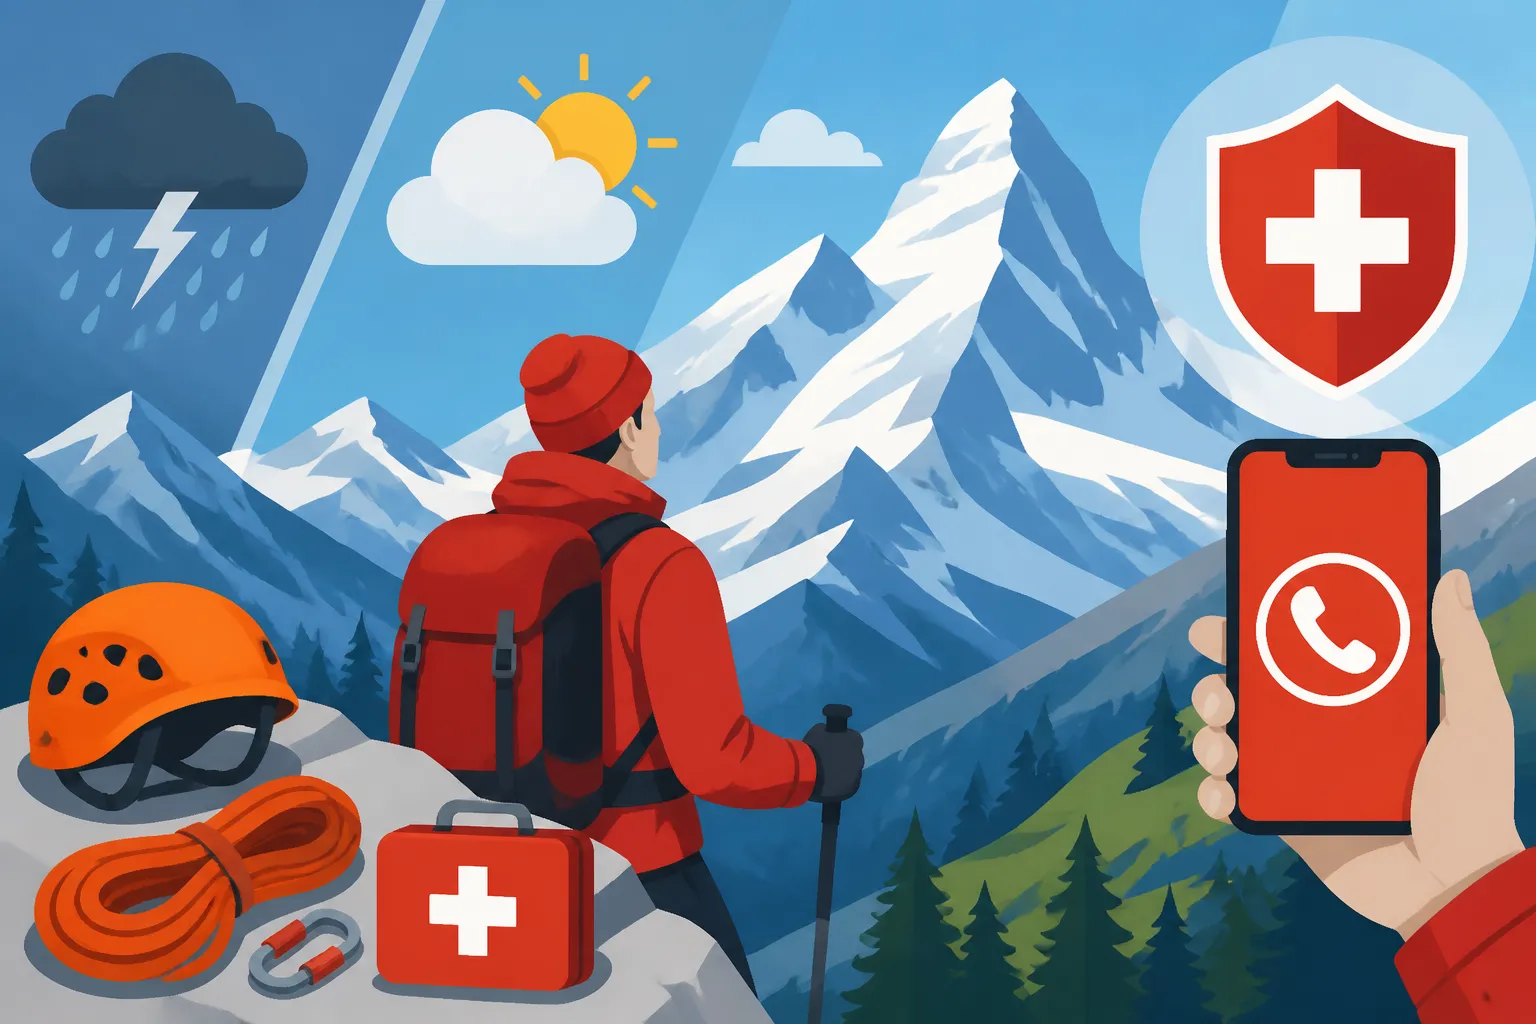
Mountain Safety in Switzerland: Weather, Gear, and Emergency Numbers
Living in Switzerland means embracing its stunning mountains, but anyone who's spent a bit of time here knows that their beauty comes with a serious need for respect. One moment you're hiking under glorious sunshine, the next a dramatic storm rolls in, catching you off guard. Underestimating the Alps is a mistake too many newcomers make, leading to avoidable anxiety or, worse, dangerous situations. This comprehensive guide is here to ensure your mountain adventures are as safe as they are unforgettable, equipping you with the vital knowledge to navigate Switzerland's peaks responsibly.
The Capricious Nature of Swiss Mountain Weather
Ah, Swiss weather! It’s a running joke among expats, isn't it? One minute you’re peeling off layers in the valley, the next you’re shivering in an unexpected snow flurry at 2,000 meters. The mountains here aren't just pretty backdrops; they are powerful, dynamic environments where conditions can change with astonishing speed. What might seem like a perfectly clear morning in Zurich or Geneva can quickly turn into a full-blown whiteout or a torrential downpour high up. This isn't just an inconvenience; it can be genuinely life-threatening if you're not prepared.
Checking the Forecast Like a Local
Reliance on a single weather app for your mountain excursion is akin to playing Russian roulette. Locals, especially those involved in mountain sports, often consult multiple sources because accuracy can vary. My go-to, and what I recommend to everyone, is MeteoSwiss. It’s the official Swiss weather service, and their mountain-specific forecasts are generally the most reliable. They provide detailed information on elevation-specific temperatures, wind speeds, and precipitation chances. Beyond that, always check local webcams. Many popular hiking and skiing areas have live cameras that show you the actual conditions on the ground, which can sometimes differ from even the best forecast. Imagine seeing bright sunshine predicted for Zermatt, but a quick check of the Gornergrat webcam reveals thick fog blanketing the peak. This kind of real-time intel is invaluable. You can also look at specific valley and summit forecasts using apps like Bergfex or even general ones like AccuWeather, but always cross-reference. Remember, what's happening in the nearest town can be drastically different from what's happening on the summit a couple of thousand meters above.
Reading the Signs: Recognizing Changing Conditions
Even with the best forecasts, being able to read the mountain itself is a crucial skill you'll develop over time. The air might feel suddenly heavy, a strange stillness could descend, or wisps of cloud might start forming and clinging to peaks. These are often precursors to a change in weather. Keep an eye on cloud formations: quickly developing, dark, and towering clouds usually mean thunderstorms are brewing, especially in summer afternoons. A sudden drop in temperature or an increase in wind, particularly after a period of calm, can also signal an incoming front. If you notice any of these signs, it's time to re-evaluate your plans. Don't push on with the mindset of "just a little further." Turning back is always the safest option. I've had countless days where I started a hike under clear skies, only to find myself pulling out my rain gear and making a hasty retreat as the heavens opened up. Better to be cautious and return another day than to get caught unprepared.
Seasonal Considerations for Mountain Safety
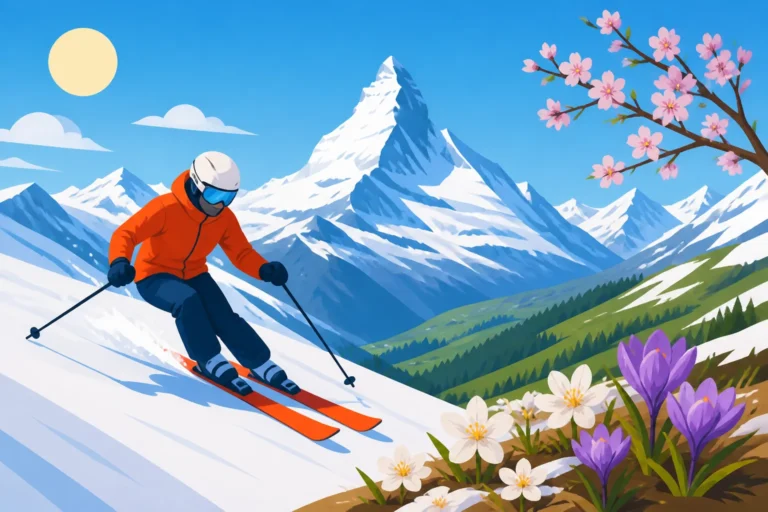
The specific challenges of mountain weather shift dramatically with the seasons. Spring brings snowmelt, which can lead to slippery, muddy trails, rockfall, and swollen rivers. What looks like a harmless stream in August can become a raging torrent in April. Summer is prime for sudden, violent thunderstorms that can bring lightning, hail, and flash floods. These often build up in the afternoon, so starting your hikes early in the morning is a golden rule. Autumn offers stunning golden foliage but also shorter daylight hours and rapidly dropping temperatures, especially at higher elevations, meaning you might start a hike in mild weather and end it near freezing. And winter, of course, presents the most significant hazards: deep snow, avalanches, icy patches, and extreme cold. If you're planning winter activities like snowshoeing or off-piste skiing, proper training and equipment are absolutely non-negotiable. Always consult avalanche bulletins from the WSL Institute for Snow and Avalanche Research SLF, which provides vital information for specific regions.
Essential Gear: Your Mountain Safety Toolkit
You wouldn't head to the beach without sunscreen, right? Well, the mountains demand an even more meticulous approach to packing. The right gear isn't just about comfort; it's about survival. I've seen countless tourists in flip-flops attempting mountain trails, and it makes me cringe every time. Seriously, folks, invest in good equipment – it’s an investment in your safety and enjoyment.
Layering is Your Best Friend: The Onion Principle
The Swiss call it the "Zwiebelprinzip" – the onion principle – and it’s gospel for mountain-goers. Instead of one thick jacket, wear multiple thinner layers that you can add or remove as conditions change. This allows you to regulate your body temperature effectively.
- Base Layer: This is your first line of defense, designed to wick moisture away from your skin. Merino wool or synthetic fabrics are excellent choices. Never cotton, which absorbs sweat and stays wet, chilling you to the bone when temperatures drop.
- Mid-Layer: Provides insulation. A fleece jacket or a lightweight down jacket is perfect. You might need one or two of these depending on the expected cold.
- Outer Shell: Your protection against wind and rain. A waterproof and windproof jacket (like Gore-Tex) is essential, even if the forecast looks clear. Pair this with waterproof trousers.
Don't forget extras like a hat, gloves (even in summer for higher altitudes or unexpected cold), and a neck gaiter. These small items make a huge difference in retaining body heat. It's often said, "There's no bad weather, only bad clothing," and in Switzerland, that rings especially true.
Footwear and Traction: Boots Made for Walking
Your feet are your foundation, so treat them right! Sturdy, ankle-supporting hiking boots are paramount. They protect against twisted ankles on uneven terrain and provide crucial grip. Ensure they are waterproof (Gore-Tex is again a great option here) to keep your feet dry, which prevents blisters and hypothermia. Break them in before your big hike – new boots are a recipe for painful blisters. Pair your boots with good quality hiking socks, preferably wool or synthetic, to prevent chafing and manage moisture.
For winter hikes or when traversing snowy/icy patches in spring/autumn, consider carrying microspikes or lighter crampons. Even seemingly innocent patches of snow can be rock-hard ice underneath, and a slip can have severe consequences. Check the trail conditions carefully before you head out, and if you're unsure, it's better to be over-prepared.
Navigation and Communication: Staying on Track
While most popular Swiss trails are well-marked, it's still possible to get lost, especially in fog or if you wander off the main path. Relying solely on your phone's GPS is risky, as battery life is finite and mountain reception can be spotty.
- Offline Maps: Download the relevant section of the official SwissTopo map app to your phone. It’s incredibly detailed and works offline.
- Physical Map and Compass: Old-school, but reliable. Learn how to use them!
- Fully Charged Phone & Power Bank: Even if signal is weak, you can still use it for navigation or, in an emergency, to make calls to the European standard 112 or, even better, directly to REGA on 1414.
- Tell Someone Your Plans: Always inform a friend, family member, or your accommodation manager about your route, expected return time, and who to call if you don’t check in.
For finding trail information and public transport connections to your starting point, apps like Omio or the official SBB Mobile app are incredibly useful. You can often see the travel time to a specific mountain station or trailhead, which helps with overall planning.
The Ten Essentials (Swiss Edition)
This is a classic list adapted for the Swiss Alps, items that every mountain-goer should carry:
- Navigation: Map, compass, GPS device/app, power bank.
- Headlamp/Flashlight: Even if you plan to be back before dark, delays happen.
- Sun Protection: Sunscreen, sunglasses, hat. The sun at altitude is intense.
- First Aid Kit: Blister plasters, antiseptic wipes, pain relievers, bandages, any personal medications.
- Knife/Multi-tool: Useful for repairs, cutting, emergencies.
- Fire Starter: Waterproof matches, lighter (for extreme emergencies, not casual campfires unless permitted).
- Shelter: A lightweight emergency blanket or bivouac bag can be life-saving if you’re stranded.
- Extra Food: High-energy snacks like nuts, dried fruit, chocolate.
- Extra Water: Stay hydrated! Consider a water filter if you're relying on natural sources.
- Extra Clothes: Beyond your layering system, a spare warm layer, hat, and gloves.
Having these items on hand dramatically increases your chances of safely managing unexpected situations. Many companies like GetYourGuide offer guided hiking tours in Switzerland, which can be an excellent way for beginners to learn about proper gear and safety from experienced local guides before venturing out alone.
Emergency Protocols and Staying Calm
No one wants to think about an emergency, but in the mountains, planning for the worst is part of responsible enjoyment. Knowing what to do and who to call can literally save lives. The Swiss emergency services are highly efficient, but you need to know how to access them.
Understanding Swiss Emergency Numbers
Switzerland has several crucial emergency numbers.
- 144 (Ambulance/Medical Emergencies): This is your primary number for medical emergencies and ground-based rescue. If someone is injured or seriously ill on the trail, call 144.
- 112 (General European Emergency): This number also works in Switzerland and connects you to the nearest emergency service. If you're unsure, 112 is always a safe bet.
- 1414 (REGA – Swiss Air-Rescue): This is the number for mountain rescue and air ambulance services. If you are lost, stranded, or there's a serious incident in the mountains where ground access is difficult or slow, call REGA. They are incredibly efficient and will dispatch a helicopter.
When you call, stay calm, speak clearly, and provide precise information:
- Who is calling? (Your name and contact number)
- What happened? (Type of incident, number of injured, nature of injuries)
- Where are you? (Use GPS coordinates if possible, describe landmarks, trail names, altitude). The SwissTopo app can show your exact coordinates.
- When did it happen?
- How many people are involved?
Stay on the line until the operator tells you it's okay to hang up.
REGA: Your Best Friend in the Air
REGA, the Swiss Air-Rescue, is an absolutely invaluable service, and every expat in Switzerland should understand how it works. While their services are free if deemed medically necessary by a doctor after rescue, the actual search and rescue operation itself is not covered by basic Swiss health insurance (KVG/LAMal: Mandatory Basic Health Insurance Explained). This means if you get lost and they spend hours searching for you, or if they airlift you for a non-life-threatening but incapacitating injury, you could face bills running into thousands of francs.
This is why becoming a REGA patron (member) is highly recommended. For a relatively small annual fee (around CHF 40 for individuals), REGA will waive the costs for any rescue mission if they perform it, provided your basic insurance or other accident insurance doesn't cover it. It's truly peace of mind. I consider it one of those essential "Swiss insurances" that you hope you never need, but are incredibly grateful for if you do. For more detailed information, check out our guide on REGA Membership: Why Expats Need Air Rescue Insurance in the Alps.
What to Do in a Mountain Emergency
If you find yourself in trouble:
- Stay Calm: Panic clouds judgment. Take deep breaths.
- Assess the Situation: Are you or others injured? Is the weather deteriorating? Are you lost?
- Seek Shelter: If possible, get out of the wind and rain. Use your emergency blanket.
- Signal for Help: If you can’t make a call, use a whistle (six blasts per minute, then a minute pause) or a light signal (six flashes per minute, then a minute pause).
- Conserve Energy: Don't wander aimlessly. Stay put and wait for rescue.
- Stay Visible: Wear bright clothing. If a helicopter is approaching, make yourself visible. Lie down if it's landing nearby to avoid debris.
It's also a good idea to refresh your knowledge on Emergency Medical Services: Ambulances, REGA, and Crisis Protocols to understand the full system.
Basic First Aid and Self-Rescue
Having a basic first aid kit is one thing, but knowing how to use it is another. A simple course in wilderness first aid can be incredibly beneficial. Common mountain injuries include blisters, sprains, minor cuts, insect bites, and hypothermia/heatstroke.
- Blisters: Clean and cover them with a specialized blister plaster. Don't pop them unless absolutely necessary and sterile conditions can be maintained.
- Sprains: R.I.C.E. (Rest, Ice, Compression, Elevation) is the general rule. Use a bandage from your kit to support the joint.
- Cuts: Clean thoroughly with antiseptic wipes and cover to prevent infection.
- Hypothermia: Get the person into dry clothes, wrap them in an emergency blanket, share body heat if safe. Provide warm drinks and high-energy food.
- Heatstroke: Move to shade, cool with water, fan the person. Offer sips of water.
Knowing these basics can help prevent a minor incident from escalating into a serious one while you wait for professional help.
Planning Your Route and Knowing Your Limits
Spontaneous adventures are fun, but in the Swiss Alps, a little planning goes a long way. This isn't just about picking a pretty trail; it's about matching the trail to your abilities and ensuring you have a realistic expectation of the journey ahead.
Trail Difficulty and Signage: Decode the Markers
Switzerland has an excellent system of hiking trail markers, but you need to know what they mean.
- Yellow Signs: These indicate easy walking trails (Wanderwege). They are generally well-maintained, wide paths suitable for almost anyone, including families with children. No special equipment is typically needed beyond comfortable shoes.
- White-Red-White Signs: These signify mountain hiking trails (Bergwanderwege). They are steeper, narrower, and can involve exposed sections, some scrambling, and uneven terrain. Good hiking boots and a reasonable level of fitness are required. Some trails might have fixed ropes or chains to aid passage.
- White-Blue-White Signs: These mark alpine hiking trails (Alpinwanderwege). These are serious mountain routes, often involving glaciers, snowfields, and technical rock sections. They require excellent fitness, experience, specific alpine equipment (like crampons, ice axes, ropes), and often a mountain guide.
In addition to colors, you'll sometimes see 'T' ratings (T1 to T6) which further classify difficulty, particularly online or in guidebooks:
- T1 – Hiking: Easy, flat, broad paths.
- T2 – Mountain Hiking: Some steep sections, uneven ground, small exposed areas.
- T3 – Demanding Mountain Hiking: Exposed sections, scree slopes, requires sure-footedness and a good head for heights.
- T4 – Alpine Hiking: Marked but often trackless, steep, exposed, some simple climbing sections.
- T5 – Demanding Alpine Hiking: Often unmarked, glacier crossings, more difficult climbing.
- T6 – Difficult Alpine Hiking: Extremely difficult, often without a path, requires specific alpine climbing skills and equipment.
Don't jump straight into a T3 or T4 trail if you're new to alpine hiking. Start with T1 or T2. Our guide Swiss Hiking for Beginners: Trail Grades and the SAC System offers a deeper dive into this.
Realistic Self-Assessment: Know Your Body
It’s easy to get caught up in the breathtaking scenery and overestimate your physical capabilities. Be honest with yourself about your fitness level. Consider:
- Distance and Elevation Gain: A 10 km hike with 1,000 meters of elevation gain is a very different beast than a flat 10 km stroll.
- Altitude: If you're not used to high altitudes, even moderate exertion can feel much harder. Allow yourself to acclimatize if doing multi-day treks.
- Pace: Always plan for a slower pace than you think you'll need. Factor in breaks, photo stops, and unexpected delays.
- Recent Activity: Have you been sitting at a desk for weeks, or are you regularly exercising?
It’s always better to pick a route that feels slightly too easy than one that pushes you beyond your limits. There's no shame in turning around if you're feeling exhausted or unsure. Some companies even offer self-guided packages where you can use Booking.com to sort your accommodation, and they’ll handle luggage transfers between hotels, letting you focus on the hike.
Informing Someone of Your Plans
This cannot be stressed enough. Before you embark on any mountain adventure, always tell someone reliable where you are going, your planned route, and your estimated return time. If you’re staying at a hotel, let the reception know. If you’re with friends, ensure someone who isn’t on the hike knows. This creates a vital safety net. If you don't check in, they know to raise the alarm.
Group Dynamics: Stick Together
If you’re hiking in a group, ensure everyone is on the same page regarding pace, breaks, and expectations. The group should only move as fast as its slowest member. Leave no one behind, especially if conditions are challenging. Group cohesion is a critical safety factor in the mountains.
| Emergency Service | Number | When to Call | Notes for Expats |
|---|---|---|---|
| Ambulance/Medical Emergency | 144 | Injury, severe illness, ground rescue | First responder for medical needs. |
| REGA (Air-Rescue) | 1414 | Mountain rescue, lost, stranded, air transport | Crucial for mountain incidents. Consider patronage. |
| Police | 117 | Crime, traffic accidents, security threat | General police services. |
| Fire Department | 118 | Fire | For fires. |
| General Emergency (EU) | 112 | Any emergency, if other numbers are unknown | Works throughout Europe. |
| Poison Control | 145 | Suspected poisoning | For medical advice on poisoning. |
| Essential Mountain Gear Checklist (Beyond Clothing) |
|---|
| Offline map (SwissTopo app) & compass |
| Fully charged phone & power bank |
| First Aid Kit (personal meds, blister care) |
| Headlamp/Flashlight |
| Sunscreen, sunglasses, hat |
| Extra food & water (or filter) |
| Emergency blanket/bivouac bag |
| Knife/Multi-tool |
| Whistle (for signaling) |
| Microspikes/light crampons (seasonal) |
It's clear that the Swiss mountains, while incredibly beautiful, demand respect and thorough preparation. Don't let their serene appearance lull you into a false sense of security. Equip yourself with the right knowledge and gear, and you’ll unlock a lifetime of incredible adventures in this stunning country. Remember, being safe doesn't mean being boring; it means being smart, so you can enjoy every single breathtaking moment.
Disclaimer
The information provided in this guide is intended for general informational purposes only and does not constitute professional medical, legal, or safety advice. While we strive to provide accurate and up-to-date information, mountain conditions can change rapidly, and individual circumstances vary. Always consult official sources, local guides, and meteorological services before embarking on any mountain activity. Your safety is your responsibility.